Glass Christmas decorations – how to make your own with Redbrick Glass
This month Nicky Sherwood visits the Dorset studio of glass artist Wendy Jeavons of Red Brick Glass (listed in our directory here). She learns how to make glass Christmas decorations and glass bunting on a beginners glass fusing workshop.
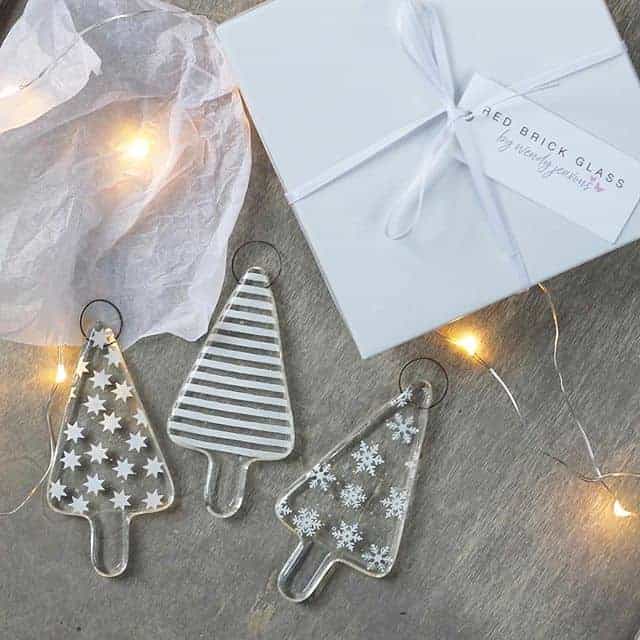

Red Brick Glass
I’ve been a fan of Red Brick Glass for a while and Wendy’s beautiful personalised glass bunting has been my go-to gift whenever friends have new babies. However, I had no idea how she makes her glossy creations, so I was more than a little intrigued to find out. That’s why I was delighted to join one of her glass fusing workshops for beginners.
Alongside her thriving gift business, Wendy offers day courses for people keen to have a go at the art of glass fusing. This method of working with glass requires some specialist equipment and techniques, not to mention a rather expensive glass kiln. This is why workshops like this are such a great opportunity to have a go under the watchful eye of an expert.

Cosy studio in Dorset
Arriving at Wendy’s beautiful Georgian house in a picture-perfect Dorset village, I am shown into the newly converted barn which serves as her studio. The other students start to arrive and we gather around the wood burning stove to enjoy a cup of tea and home made brownies.


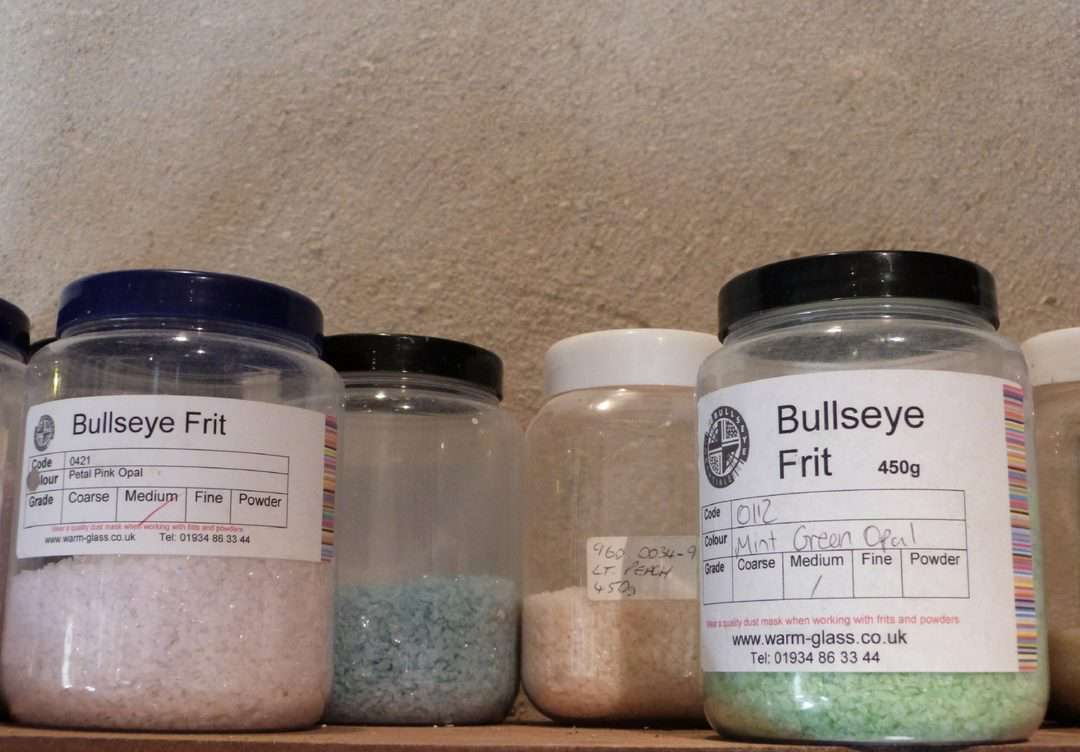
Lining the walls of the studio are jars of every conceivable type of glass, ranging from slender rods to sparkling glass powder in jewel-like hues.
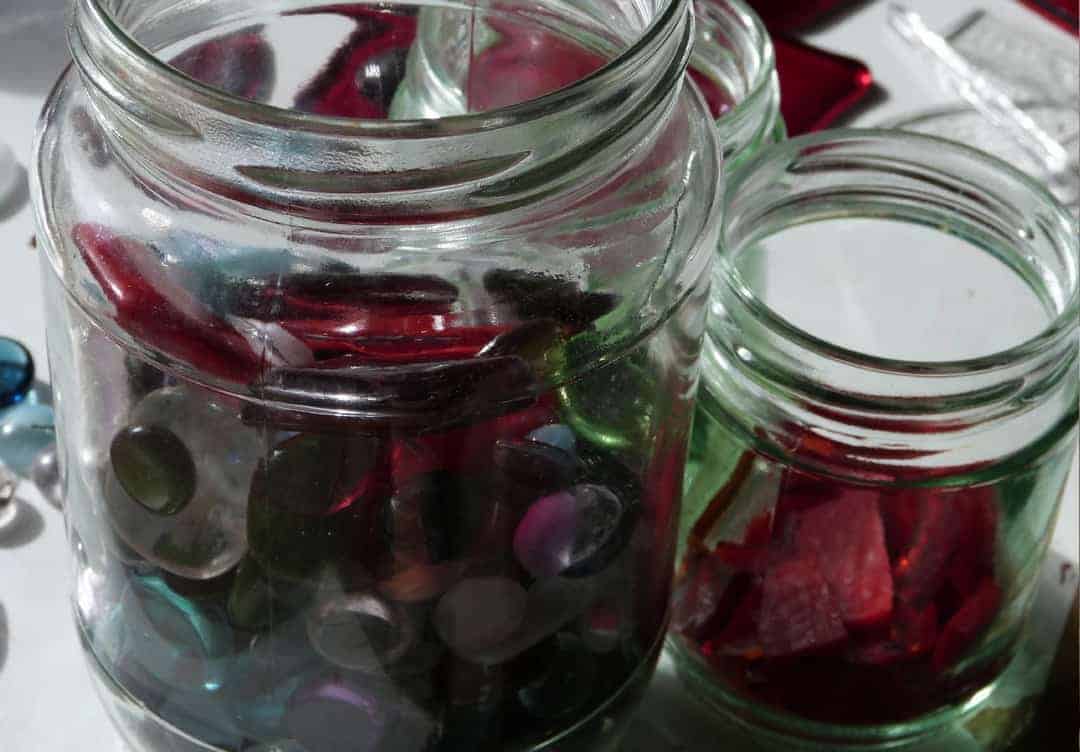
Specialist glass transfers
Wendy also uses specialist glass transfers in her own work to add pattern and personalisation, and she shows us some glass decorations made by previous students, making us even keener to get started on our own projects.


Cutting the glass
Working with glass has its risks so Wendy demonstrates how to use the glass cutting tool safely. Resembling a metal pencil with a retractable wheel for a blade, the glass cutter does take a bit of getting used to. We are also given goggles to put on to protect our eyes.
I suddenly start to feel rather uncoordinated as I attempt to cut a sheet of clear ‘practice’ glass. I begin by scoring the sheet before using the opposite end of the cutter to tap the glass until it snaps cleanly. At least that’s what is supposed to happen!


Sketch out a design
After some broken glass, a few muttered expletives and finally some successful strips of glass, I start to get a feel for it. With some helpful advice from Wendy, I am soon ready to move on to the real thing.
For my festive themed bunting I choose some bright red, opaque white and textured clear glass. I sketch out my design and begin cutting out the triangular pennants using a template.


Adding glass decorations, spots and stripes
Each pennant requires two layers of glass which become fused together when fired in the kiln. It’s important to keep all of the triangles the same size which is much easier said than done.
Next Wendy shows us how to add decoration using fine glass rods, glass granules, glitter powder, embossing fabric, and glass paint.
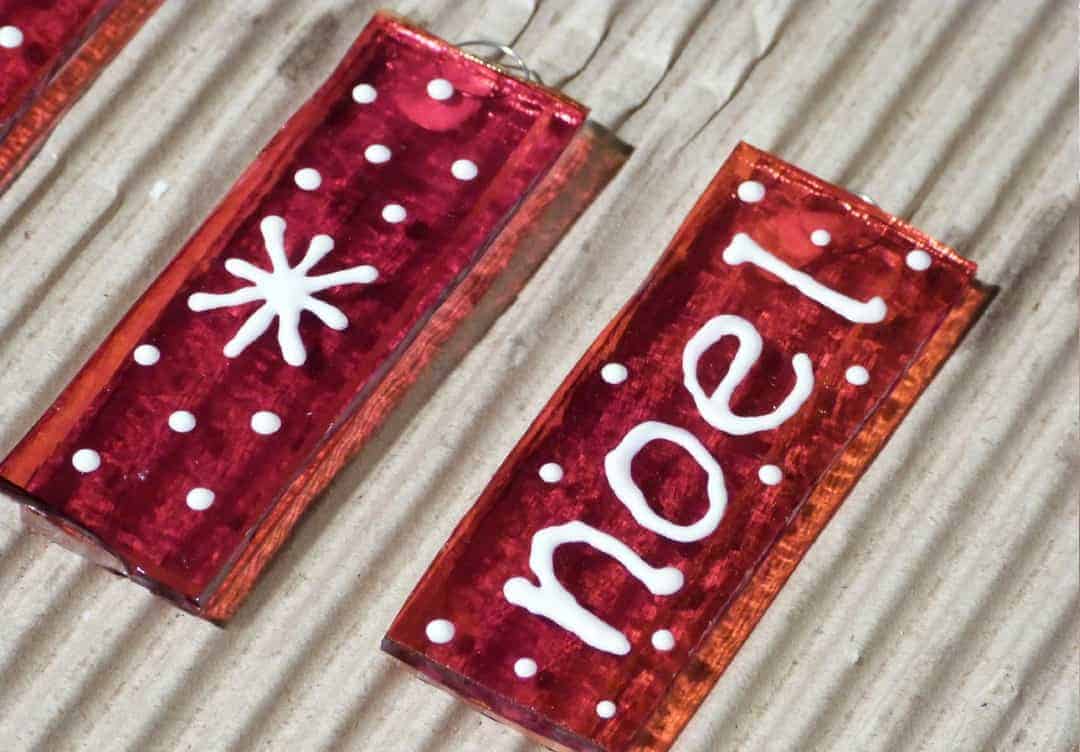
With my bunting laid out ready for firing there is still time left to make a few Christmas tree decorations. A small metal ring is inserted between two layers to create the hanger. Then I decorate the top layer with glass paint, opting for dots and snow flakes.
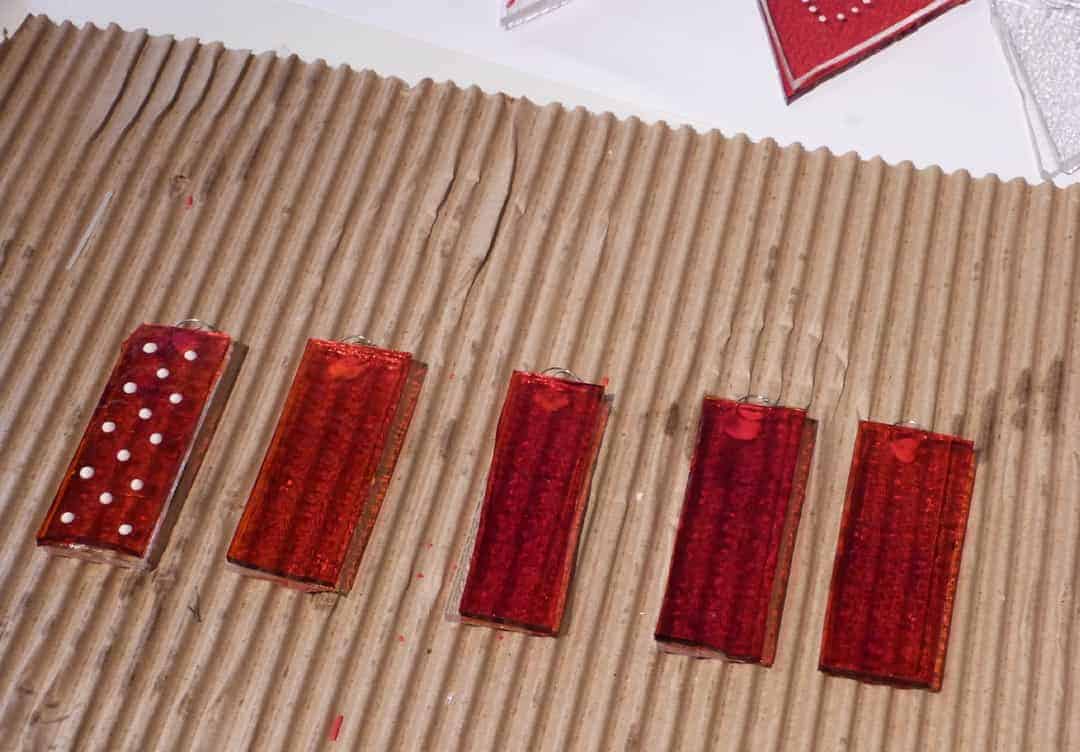
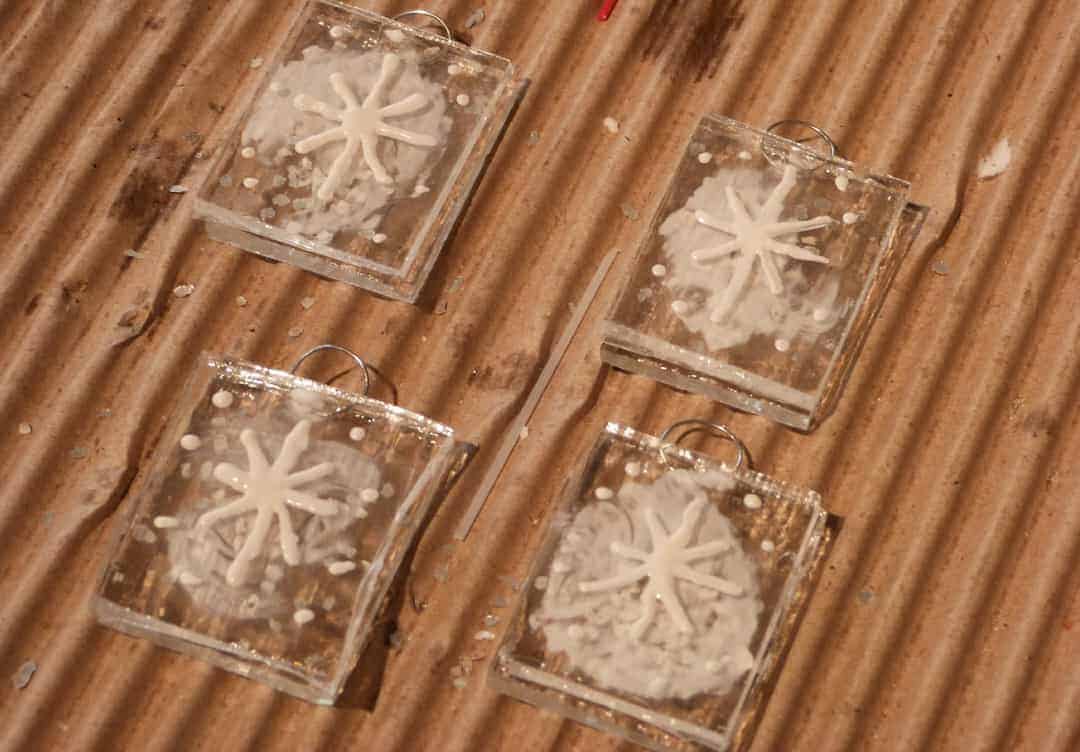
Hand painted snowflake glass Christmas decorations
Now feeling more confident about my cutting I return to my strips of practice glass from earlier. I cut them into small squares, then decorate with hand painted snowflakes.
The glass is still quite jagged but the edges would soften and the layers meld together in the kiln.

As our day drew to a close we add our finishing touches and leave our creations behind for Wendy to fire and send on to us in the post. It’s hard to believe that we had gone from glass cutting novices to creating our own stunning finished pieces.
Special delivery
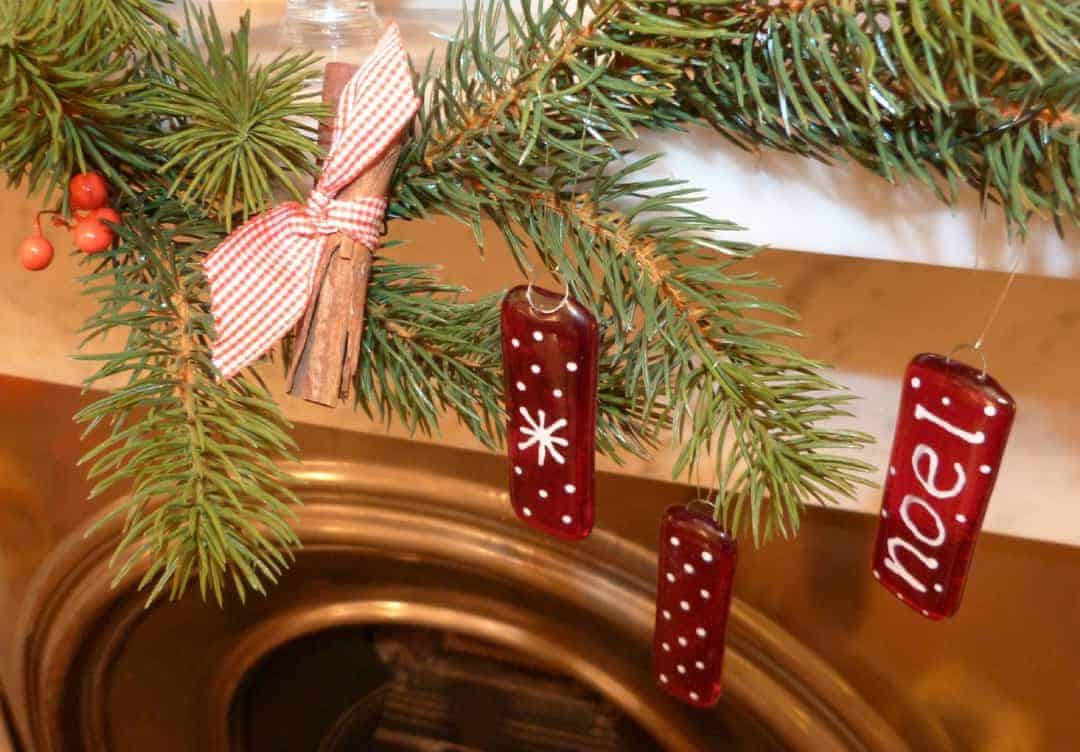
Back at home a few days later a beautifully wrapped parcel arrives with my now fired glass bunting and decorations inside. They are no longer sharp and jagged but beautifully smooth and tactile like glossy boiled sweets. What do you think?


Wendy had kindly strung my bunting for me so that each pennant is evenly spaced and perfectly secure. My red glass decorations are transformed into shiny treasures which look perfect hanging on my Christmas tree.
While my square clear glass decorations sparkle like ice cubes filled with glittering snowflakes. I think I actually love these the best.

The joy of handmade glass Christmas decorations
Glasswork is a fascinating craft and one which really does require skill, coordination and at times breath-holding concentration. Expert tuition is essential, both from a creative and a safety point of view. With Wendy I felt in very good hands.
Wendy has years of experience of working as a glass artist and it shows. Always on hand with help and advice, she gives complete confidence from the start that we would be able to create a collection of beautiful pieces to take home.
I am delighted with my creations and I know that I will be bringing them out at Christmas for many years to come. What’s lovely is that I will always get that little glow of satisfaction from knowing that I made them myself.
Hope you’ve enjoyed discovering how to make your own glass Christmas decorations.
A pin to save to Pinterest

CONNECT WITH RED BRICK GLASS
Red Brick Glass is listed in the From Britain with Love directory
Find glass making equipment and supplies on Etsy including beautiful fused glass kits by Natalie Bullock
Wendy also teaches one-to-one classes for adults and children, and offers gift vouchers which make an ideal gift for your crafty friends.
If you run a creative course that you think our readers would be interested in reading about, do get in touch by emailing editor@frombritainwithlove.com.


Great blog and amazing design!