How to Make Beeswax Candles – easy DIY tutorial
I love to browse the ethical and handmade loveliness for sale in wonderful online shop Foundland. Having earned their crusts in high end retail (founders Sarah and Arthur ran the webshops for cult design brand Monocle as well as major galleries), the pair have created something really special and unique with Foundland. Discover spoons handmade in an English forest, recycled textiles storage cubes, Kinfolk notecards and more…
You can also buy their 100% natural beeswax hand rolled beeswax candles. If you fancy having a go at making them yourself, it’s easy if you know how. Arthur and Sarah have kindly shared their How to Make Beeswax Candles – easy DIY tutorial with lovely photographs that show you exactly what to do, step by step. Love the idea of tying up with simple flowers to create a beautiful handmade gift, don’t you? Hope you enjoy.
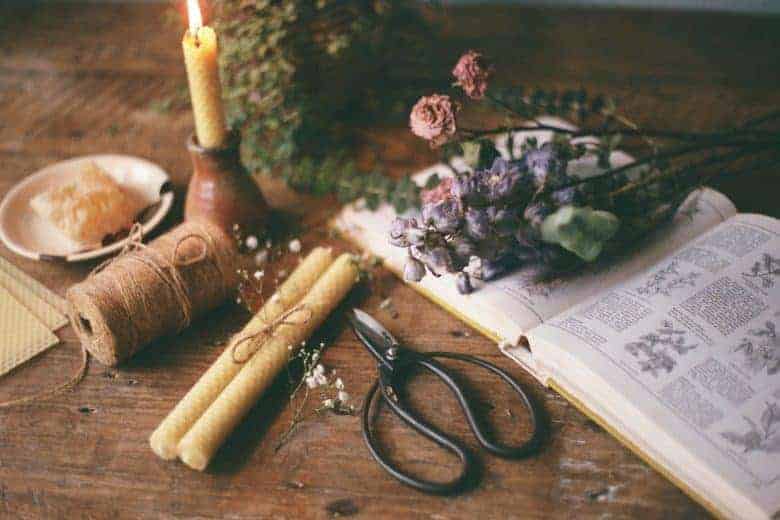
We make our natural beeswax candles in our garden studio. Beeswax has a myriad of wonderful qualities, not least for candle-making. For one, it’s hypoallergenic, helping to purify the air as it burns. These candles tend to be relatively scent-free and drip-free, so you can burn them at the dinner table. And of course they’re beautiful to look at – their intricate honeycomb shards glowing as they burn. Completely mesmerising. They’d also make ideal wedding favours or gifts for your hosts this Christmas.
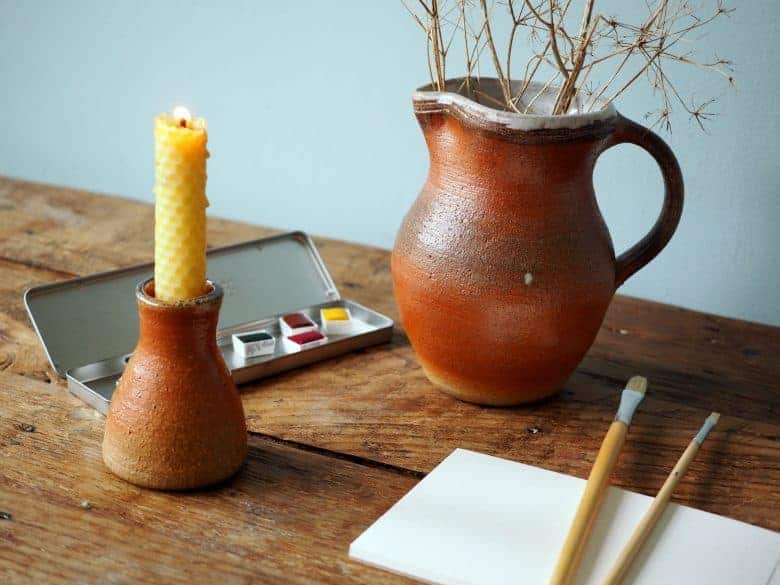
We’ve styled ours up with wood-fired candlesticks, a collaboration with British potter Brigitte Colleaux.

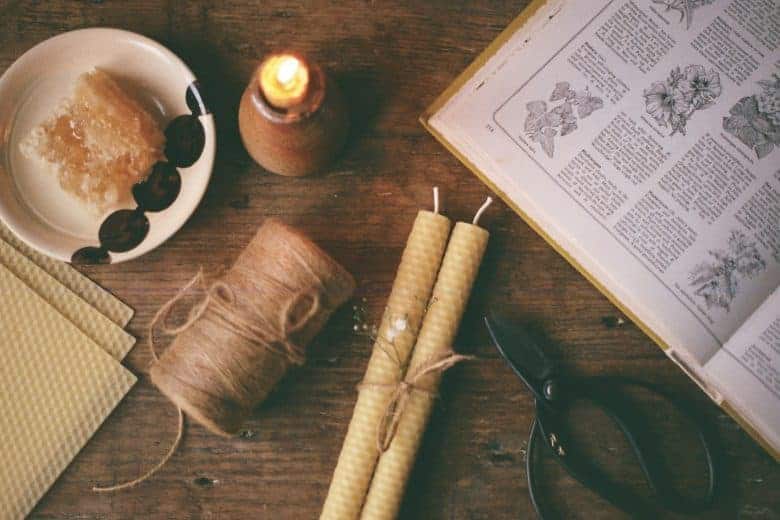
It’s also rather therapeutic to roll your own beeswax candles, as the instructions below will guide you.
How to Make Beeswax Candles – easy DIY tutorial

You will need:
• Sheets of beeswax. We source ours from a beekeeper in the family, but they are easy to find in any beekeeping-supply store. There’s plenty of sizes and colours available, depending on the look you’re going for. We use 16 by 8 inch for a thicker candle with ten hours of burn time, or 8 by 8 inch for a thinner candle which will burn for five hours.
• Cotton candle wick.
• Scissors or snips.
• A burning candle.
• String and dried flowers to decorate (optional).

Step One
Cut a piece of wick to about one inch longer than the width of your beeswax sheet.

Step Two
Place the wick on the edge of the sheet, positioned so that the excess wick protrudes out of one side, and gently press in with your finger.

Step Three
Fold the edge of the candle sheet over once, and press down, to seal in the wick.

Step Four
We find it easier to turn the sheet around 180 degrees at this point. Start to slowly roll the sheet towards you, keeping the roll tight and the edges as straight as possible. It will become easier as you go on, so keeping on rolling!
Step Five
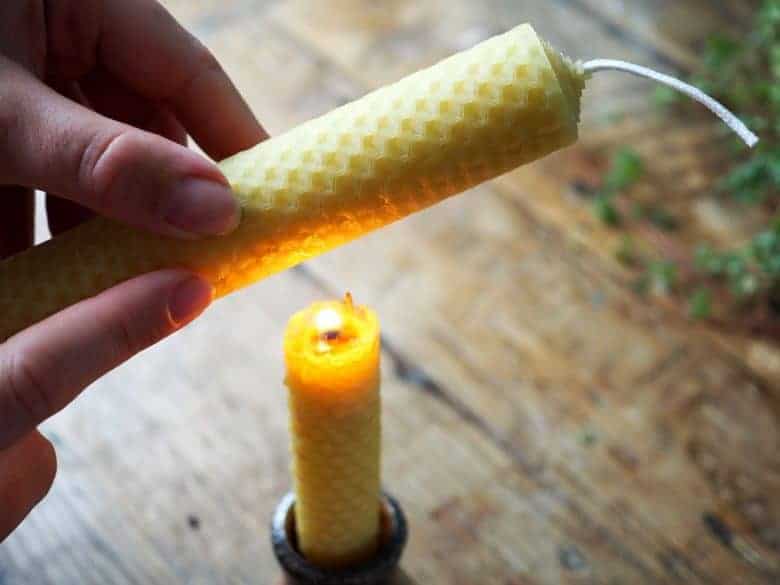
Press the edge down lightly, then hold the join about an inch above a lit candle. This will melt the wax ever so slightly so that you can press in a bit more and seal the join.

Step Six
Trim the wick at the bottom entirely and the wick at the top to about one cm long.

Step Seven
Tie with string and flowers to present as a gift.



INFORMATION
To discover more about Sarah and Arthur’s story, you can read our blog post Meet Sarah and Arthur of Foundand ethical homeware where they share one or two inspirations, hidden gems in London, dark sky forests in Northumberland and their love for rescue cats Mr Tiddles and Tobokaido…:
Find ethical and handmade online shop Foundland in the Ethical Shopping section of our Directory
Are you a maker, grower or creative course provider? Like to list with us and benefit from joining our supportive community? We’d love to hear from you. Check out the packages we offer on our Join Us page and get more details from our Information pack here
A PIN TO SAVE TO PINTEREST
It would be great if you could share the love for Foundland. All you have to do is hover over the image below until you see the Pinterest button appear. Then share it to your boards. Thank you! X




Leave a Reply