How to make a simply beautiful foraged wreath
This year I decided to put into practice all the wreath-making tips and techniques I’ve learned over the years at some wonderful workshops. I wanted to see if I could create one all by myself, using only foraged materials.
To get detailed step by steps to make a wreath yourself (distilled from the wonderful wreath making workshops I’ve been to over the years), click here: Make a contemporary Christmas wreath
But if you’re already pretty familiar with the process, I’ll share the simple stages and materials I used to make this foraged wreath here.

How I made my foraged wreath
First, I dug out the old metal ring from last year’s wreath and covered it liberally in moss gathered from around my garden. Having a less than perfect lawn is great for this! My moss was already soaked like a sponge from weeks of rain, but if yours is a little dry, just soak in some water for a few hours before using. The purpose of the damp moss is to create a source of moisture to help keep the foliage fresh for longer.
NB if you don’t have a metal ring, they are easy to pick up at your local flower market, craft store or online. I like Bloom Norfolk on Etsy who sell three different size metal wreath rings. The ring I used is 12 inches in diameter.
The trick to getting this first stage right is to grab big handfuls of the moss and pack it in and around the ring, wrapping and securing in place as you go with florist’s wire. If you don’t already have wire, these reels from Bloom Norfolk are perfect.
Once you’ve got a good covering of moss, it’s time to start adding the greenery.
I took my snippers and an old basket and tramped my way around the garden, particularly the more overgrown areas, and collected a bit of everything that seemed seasonal and still green.
Add the greenery
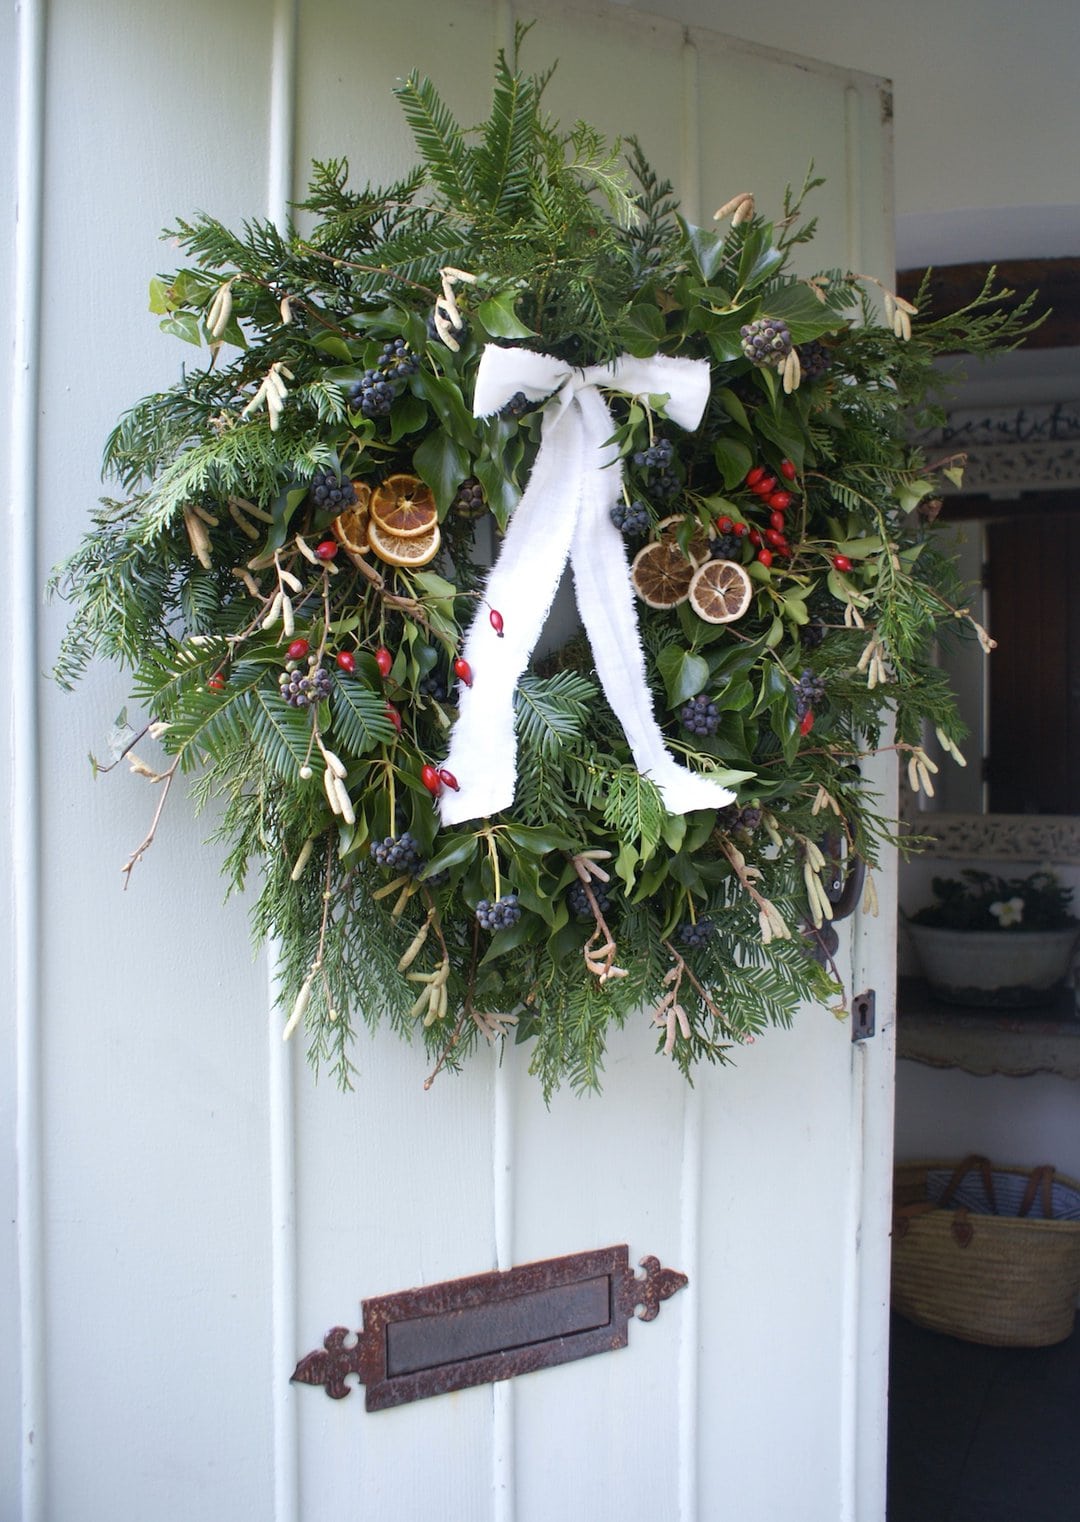
Leyland Cypress is not my favourite tree at other times of year, but it works brilliantly as base greenery. I also found some other evergreen branches that look a bit like a Christmas tree hiding behind my shed and some fab ivy that has gone a bit out of control over our old wall but is now full of beautiful black berries. At times like this, having a slightly out of control garden comes into its own! I wanted some contrast to the greenery so I also snipped some silvery gold catkins and bright red briar hips. The hips look great but I did tear my hands to ribbons trying to work with these. In hindsight I should have taken some time to remove the thorns and worn gloves!
Anyway, with all my greenery and foraged materials assembled, I got going with the fun creative bit. I’d decided to go big and wild and so I added quite long pieces, working in a clockwise direction, wrapping with wire as I went, like before.
A trick I learned at the workshops is to get someone to hold up your wreath at this stage so you can decide which bit you want to be the top and also spot any gaps.

Finishing touches
I had a few slices of dried orange and lime that I decided to add too (I was in two minds as they’re not foraged materials, but I like the interest they bring, so I’m breaking my own rules. Isn’t that what rules are for?
To attach decorations to the greenery-filled wreath, the technique I’ve been taught is to use florist’s stub wire and secure at the back by winding around the short end. Next you poke the wire through the wreath and bend back in on itself to secure.
To attach the slices of dried citrus fruit, I carefully poked both ends of the wire through the middle of the fruit and carefully wound round the short end at the back to secure.
I had lengths of stub wire left over from last year’s workshop to use for this. But you can easily create your own lengths by cutting them from a roll of wire. You just need to make sure the wire is sturdy enough to poke through the wreath.
I decided to create two clumps of three slices on both sides near to the red hips.
Torn linen ribbon
Once I was happy with everything, I attached a strong loop of hanging wire to the back and hung it up on my door. This is the perfect way to add any final finishing touches. I decided I wanted to stick with the foraging spirit (despite previously throwing the rule book out with the orange slices. I know!) and made a piece of ribbon by tearing a strip from an old white linen curtain that I’ve chopped into before. It’s so easy and I love the slightly frayed, ethereal look it gives. If I was going to be picky I’d say that when I took the photos I realised that the ribbon would probably have benefited from a bit of an iron as there are a couple of deep creases. But it’s up now and I’m convincing myself that creased just looks more natural…!
After tying the ribbon into the size of bow I wanted, it’s secured with wire through the back of the knot and added to the wreath in the same way as the orange slices.

What do you think? I have to admit feeling particularly proud of this year’s wreath. Because I made it all by myself using only foraged, reused materials. Why not head out with the snippers to see what you can find? That’s the beauty of making a foraged wreath – every one will be different and sparked by what nature and the season around you has on offer. Joy!
Merry Christmas! X
Information
This article contains affiliate links, which means we may earn a small commission if a reader clicks through and makes a purchase. All our blog posts are independent and in no way influenced by any advertiser or commercial initiative. By clicking on an affiliate link, you accept that third-party cookies will be set.
For more Christmas wreath ideas and inspiration check out my Make a wreath for Christmas 5 creative ideas you’ll love blog post
A pin to share to Pinterest


Thx