crochet basics – a beginner’s guide
I know how many of you are drawn to the idea of learning crochet basics, so I thought I’d distill the most helpful step by steps from our popular post all about the workshop with Mrs Moon learning How to crochet a flower
If you prefer to watch video tutorials, this How to Crochet tutorial by Mrs Moon is brilliant and talks you through crochet basics – including chain stitch and double crochet.
Crochet basics video tutorial
First things first, you need to tie a slipknot of yarn onto your crochet hook – it will look like this.
You do this by taking one end of your yarn over the other like you’re making a normal knot, then take the other end and pop it down behind the back of the circle. Holding the two ends, take your crochet hook and pull up the central loop to create your slip knot.
Then it’s time to start with the most basic of crochet stitches – the chain stitch.
Chain stitch
This will create a long chain of stitches. It’s the foundation of crochet.
Hold your hook in your right hand (even if you’re left handed, I’m told), with the hooky bit facing forwards.
Your left hand is going to make the tension.
With your left palm facing upwards, take your hook and yarn over the front of your little finger and wrap all the way around to your palm-facing side, then wrap in behind you little finger and take behind your next three fingers.
Drop the yarn down and hold it between your left thumb and fore finger. Hold it right by the hook to hold the loop open.
Lift your second finger and this will create a tense bit of yarn – which is where you are going to make your stitches.
Take your hook underneath this tense bit of yarn from left to right (called a yarn over) and the use the hook to pull up the loop to create the first link of your ‘chain’.
Continue the process to create your ‘chain’ of stitches. Keep this even and loose, as with most crochet you will be working back into this foundation chain later.

The double crochet stitch (single in US)
The ‘front’ of your chain is a series of ‘v’s and the back is more bumpy. Working along the chain (right to left), you are going to work into each one of the chain stitches you have created.
Ignore the first chain (called a turning chain and gets you up to the right height to start the row) and just slip the first loop onto your hook.
You will work from the second stitch in the chain from the hook.
Put your hook into the chain front to back, just under the top arm of the ‘v’, then wrap the yarn around the hook and pull the loop through. You will now have two stitches on your loop.
Wrap the yarn around the hook again and pull both loops through to create one stitch. That’s your first stitch of double crochet.
Now you need to do the same thing with the rest of the stitches along the chain. This is a chunkier version of the simple chain stitch and will look like this:
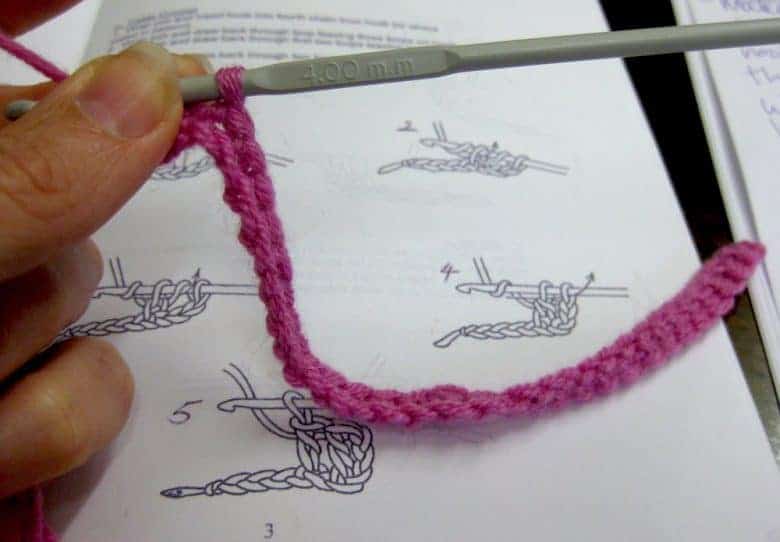
After each row, turn your work around and work from right to left again.
After the first row, you will work into the top of two stitches each time. Work into each double crochet until the end for this row and every subsequent row (it’s just too fiddly to do this on the first row too).
Your work will create a dense fabric of stitches like this:

The treble crochet stitch (double in US)
You can watch the Mrs Moon tutorial on creating treble (double in US) here:
Treble stitch is taller than double and is probably the mainstay of crochet. You can see from the image below that it’s also less dense than double crochet but is much faster to work in.

You start with your foundation chain. As with double crochet, you will need a turn chain which allows you to start at the right height for the row. This time, you ignore the first 3 stitches and crochet into the 4th stitch.
Before you go into the stitch, wrap the yarn around the hook, from left to right, and then put your hook into the chain, just under the top v. Wrap the yarn around the hook again and bring it through.
Now you’ll have 3 loops on your hook.
Wrap the yarn around and bring it through the first two loops then wrap it round again and bring it through again so you’re left with just one stitch.
Work across the row to create a column of 3 stitches as you go.
Making a square

By joining a length of chain stitch to form a circle, you then stitch rounds of treble stitch, alternated with chain stitch to create a sort of chequerboard effect within the square.
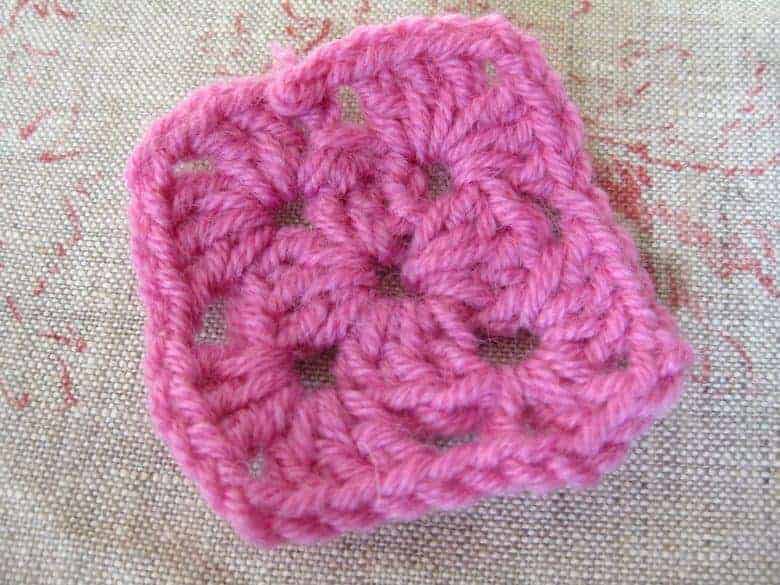
Again, there’s a really helpful video tutorial by Mrs Moon to help you make your own squares…
Crochet basics – projects to inspire you
make a flower
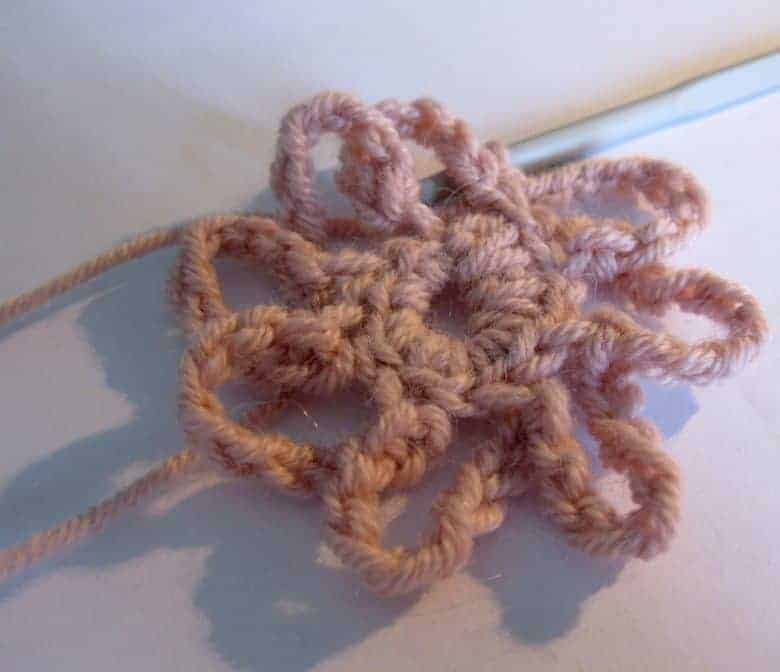

This idea comes from our popular blog post How to crochet a flower. It’s a great beginner’s project – a simple crochet flower made up of chain stitch and treble stitch, with a fabric-covered button to create a corsage.
Granny squares scarf
 I love this pattern – available to buy as a PDF pattern (or full kit if you prefer) from Mrs Moon.
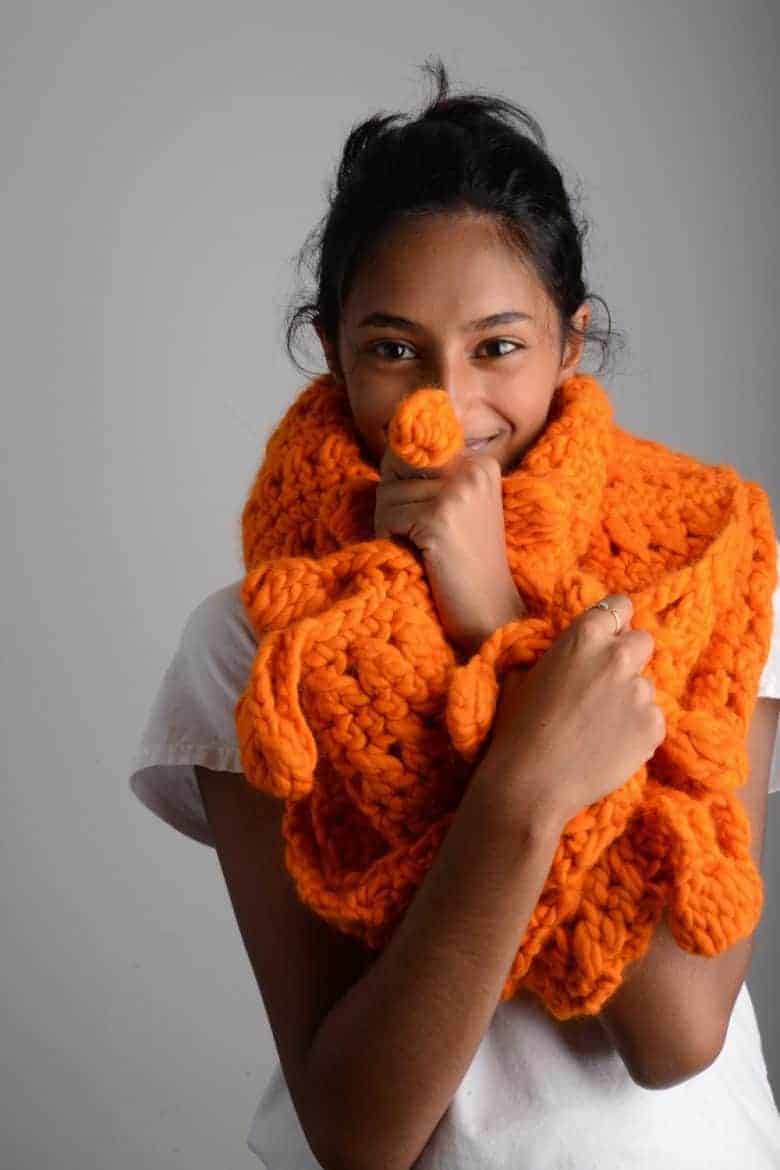
And how lovely is this super chunky bauble bobble scarf pattern?
It’s the baby booties that I really love here – a great handmade baby gift idea – and you can add in the matching baby hat

Etsy is a great place for supplies and ideas too.
The Tiny Bits sells a rainbow of 100% cotton crochet yarn.

Find bamboo crochet hooks in a range of sizes here
What about this crochet pyramid bag kit?

The kit includes crochet hook (8mm), 200m of cotton rope, the printed pattern copy, a digital pattern and tutorial. It’s suitable for beginners and classed as difficulty level ‘easy’.
The Knitting Network is another great place to find creative patterns and ideas.
Love these lidded storage boxes made in two colours and suitable for beginners.

I just love this crochet blanket with tassels – perfect for cosying up outdoors and taking with you to festivals, on camping trips, or simply have to hand for gatherings in the garden.
It’s created by Helen Boreham and is inspired by traditional quilting design. Buy the pattern here (it includes step by step picture instructions and colour charts to help you create the exact same layout. It’s suitable for beginners – so it’s the perfect first project to get stuck into once you’ve mastered the crochet basics. This is really appealing to me – especially as crochet is so much quicker to work in than knitting!
These spring flowers are another lovely project
And what about this Christmas snowflake crochet wreath? It’s suitable for beginners and would make a great festive project, don’t you think? 
This roses heart garland wreath is suitable for intermediates, so maybe it’s a second or third project?

Buy the Rose heart garland pattern here
I love the vintage feel of this simple crochet shift dress. It’s classed as intermediate – but just imagine how useful this dress would be in different colours. You’d definitely need the right slip or vest dress underneath though!

Buy the crochet dress pattern here
Final idea for now is this textural tasselled bath mat. Love it in this natural shade of cotton – again it’s classed as intermediate, so maybe crack the crochet basics first?
INFORMATION
Are you a maker or creative course provider? Like to list with us and benefit from joining our supportive community? We’d love to hear from you. Check out the packages we offer on our Join Us page.
This article contains affiliate links, which means we may earn a small commission if a reader clicks through and makes a purchase. All our blog posts are independent and in no way influenced by any advertiser or commercial initiative. By clicking on an affiliate link, you accept that third-party cookies will be set.
A PIN TO SAVE TO PINTEREST
Hope you enjoyed this crochet basics for beginners blog post. It would be great if you could share the love by pinning this to Pinterest. Simply hover over the image until the red Pin it symbol appears and share! Thank you X




Leave a Reply